Generating OG images in Elixir
I recently added per-page OG images to this blog and it was less complicated than I expected. On top of that, I was able to completely stay within the Elixir ecosystem! If you’re not familiar, OpenGraph image meta tags let you define an image that should be rendered as a preview for the page, which is used in social media and messaging apps.
So let’s start with the requirements: I wanted a low effort approach to creating per blog post OG images, and that new posts should automatically get images without any additional work. Additionally, I wanted matching images for pages like /about. I’m using NimblePublisher to render markdown to HTML at build time and I wanted to follow the same principle for the OG images.
If you want to just go look at the code, here’s an entry point into the source code https://github.com/joladev/jola.dev/blob/main/lib/jola_dev/og_image.ex.
Image library
Step one was figuring out how to generate these images on the fly. The JS community has takumi-js and satori that take a basic HTML template and render it to an SVG/PNG using the Yoga layout engine. This is very convenient because you can write a HTML/CSS and get an image out of it, and it’s fast enough that you can generate images ad-hoc.
import { render } from "takumi-js";
import { writeFile } from "node:fs/promises";

const image = await render(
  <div tw="w-full h-full flex items-center justify-center bg-gradient-to-b from-blue-100 to-red-50">
    <h1 tw="text-6xl font-bold">Hello from Takumi</h1>
  </div>,
  { width: 1200, height: 630 },
);

await writeFile("./output.png", image);
Now, you could shell out to node to use either one of those libraries and that would probably work fine for me, I already have nodejs in my build environment anyway, but where’s the fun in that! With some minimal digging I found the incredible Image library by the prolific Kip Cole.
Image uses libvips under the hood, but will automatically pull that in for you at build time, so you don’t have to worry about it. The library offers an incredible amount of functionality, of which we’ll just be using a tiny bit. However, it does not have an HTML/CSS layout engine, so this will be more like drawing on a canvas. Nothing we can’t overcome though! Here’s a basic example of what we’re aiming for.
# 1200x630 is the standard OG image size
canvas = Image.new!(1200, 630, color: "#0a0a0a")

# Grab the site logo from disk
{:ok, logo} = Image.open("priv/static/images/logo.png")
{:ok, logo} = Image.thumbnail(logo, 72)
canvas = Image.compose!(canvas, logo, x: 80, y: 80)

# wordmark, vertically centered against the 72px logo
{:ok, wordmark} = Image.Text.text("jola.dev",
  font: "Inter", font_size: 48, font_weight: :bold,
  text_fill_color: "white")
y = 80 + div(72 - Image.height(wordmark), 2)
canvas = Image.compose!(canvas, wordmark, x: 80 + 72 + 20, y: y)

# Add the page/post title
{:ok, title} = Image.Text.text("Hello, World",
  font: "Inter", font_size: 72, font_weight: :bold,
  text_fill_color: "white", width: 1040)
canvas = Image.compose!(canvas, title, x: 80, y: 470 - Image.height(title))

# Add the description
{:ok, desc} = Image.Text.text("A description.",
  font: "Inter", font_size: 32,
  text_fill_color: "#a3a3a3", width: 1040)
canvas = Image.compose!(canvas, desc, x: 80, y: 500)

Image.write!(canvas, "og.png")
And here’s the image I get from running it.

Hooking it up
As mentioned I wanted to follow the basic design of NimblePublisher and generate the images at build time and keep them in memory. This is not necessarily the most efficient way to do this, writing the images to disk and serving them using Plug.Static would be more performant, especially if you’re creating a lot of them, but would also add additional complexity. I’ll probably go there eventually, but for now keeping them in memory works great.
Note that all code examples are simplified for the blog post, take a look at the repo for this blog to see the version with all the edge cases covered https://github.com/joladev/jola.dev/blob/main/lib/jola_dev/og_image.ex.
Starting with mapping page paths to titles and descriptions, we can grab the post.title and post.description from our NimblePublisher posts, and then manage pages like home and about manually. This gives us a single place to control the content that we generate images for.
defmodule JolaDev.OGImage.Catalog do
  alias JolaDev.Blog

  @static_content %{
    "" => {"Home", "The home page!"},
    "about" => {"About", "About the page!"},
  }

  def all_slugs do
    static = Map.keys(@static_content)
    posts = Enum.map(Blog.all_posts(), &"posts/#{&1.id}")

    static ++ posts
  end

  def content_for("posts/" <> id) do
    case Blog.find_by_id(id) do
      nil -> :error
      post -> {post.title, post.description}
    end
  end

  def content_for(slug) when is_map_key(@static_content, slug),
    do: Map.fetch!(@static_content, slug)
end
And then we hook up our example code from above in Renderer.generate_bytes.
defmodule JolaDev.OGImage.Renderer do
  def generate_bytes(title, description) do
    # Put the sample code from above here and pass title and description
    Image.write!(canvas, :memory, suffix: ".png")
  end
end
Okay, it’s starting to take shape. Now let’s generate all those images in a module attribute to have them created at compile time and stored in memory with the path they correspond to, and then expose them with a public accessor function.
defmodule JolaDev.OGImage do
  alias JolaDev.OGImage.Catalog
  alias JolaDev.OGImage.Renderer

  @images Map.new(Catalog.all_slugs(), fn slug ->
               {title, description} = Catalog.content_for(slug)
               {slug, Renderer.generate_bytes(title, description)}
             end)

  def bytes_for(slug) do
    Map.fetch(@images, slug)
  end
end
Now all we’re missing is a little plug to serve the images.
defmodule JolaDev.Plugs.OGImage do
  import Plug.Conn

  def init(_), do: []

  def call(%Plug.Conn{request_path: "/images/og/" <> rest} = conn, _) do
      slug = String.replace_suffix(rest, ".png", "")

    case JolaDev.OGImage.bytes_for(slug) do
        {:ok, bytes} ->
          conn
          |> put_resp_content_type("image/png")
          |> put_resp_header("cache-control", "public, max-age=31536000")
          |> send_resp(200, bytes)
          |> halt()
        :error ->
          # Just pass through to let Phoenix deal with the 404
          conn
    end
  end

  def call(conn, _) do
    conn
  end
end
Add that to Endpoint just after Plug.Static and we’re almost there. We’ve got OG image generation working E2E, so next up is adding the meta tag to the root layout like:
    <meta
      property="og:image"
      content={
        Phoenix.VerifiedRoutes.unverified_url(
          JolaDevWeb.Endpoint,
          "/images/og" <> @conn.request_path <> ".png"
        )
      }
    />
This means we’re automatically generating the URLs and as long as they match up against what we have defined in Catalog, we’ll serve custom images.
That’s it, OG image generation that will automatically create new images for every new blog post.
Generating images on the fly
What I’ve sketched out above doesn’t have the best local developer experience since it will rebuild all the images on every change to your blog posts. Image generation is fast, but the more pages you have the more this will add up. For this blog, generating a full set of OG images takes about 1.6s on my machine. So let’s try something different, let’s generate the images on the fly. You could do this in production too, but it’s a lot of unnecessary effort, even if it’s just ~20-50ms per image.
The changes we need to make are mostly focused on the JolaDev.OGImage module. In dev mode, we’ll want to skip generating the images on compilation, and instead generate on each request.
defmodule JolaDev.OGImage do
  alias JolaDev.OGImage.Catalog
  alias JolaDev.OGImage.Renderer

  @dev_mode Application.compile_env!(:jola_dev, :og_image_dev_mode)
  @images if not @dev_mode,
            do:
              Map.new(Catalog.all_slugs(), fn slug ->
                {title, description} = Catalog.content_for(slug)
                {slug, Renderer.generate_bytes(title, description)}
              end)

  def bytes_for(slug) do
    if @images do
        Map.fetch(@images, slug)
      else
      with {title, description} <- Catalog.content_for(slug) do
        {:ok, Renderer.generate_bytes(title, description)}
      end
      end
  end
end
You probably want to tweak the cache headers you’re setting in the plug for dev_mode, but otherwise that’s it. We can keep the change to this single layer. Nice!
Custom OG images are cool
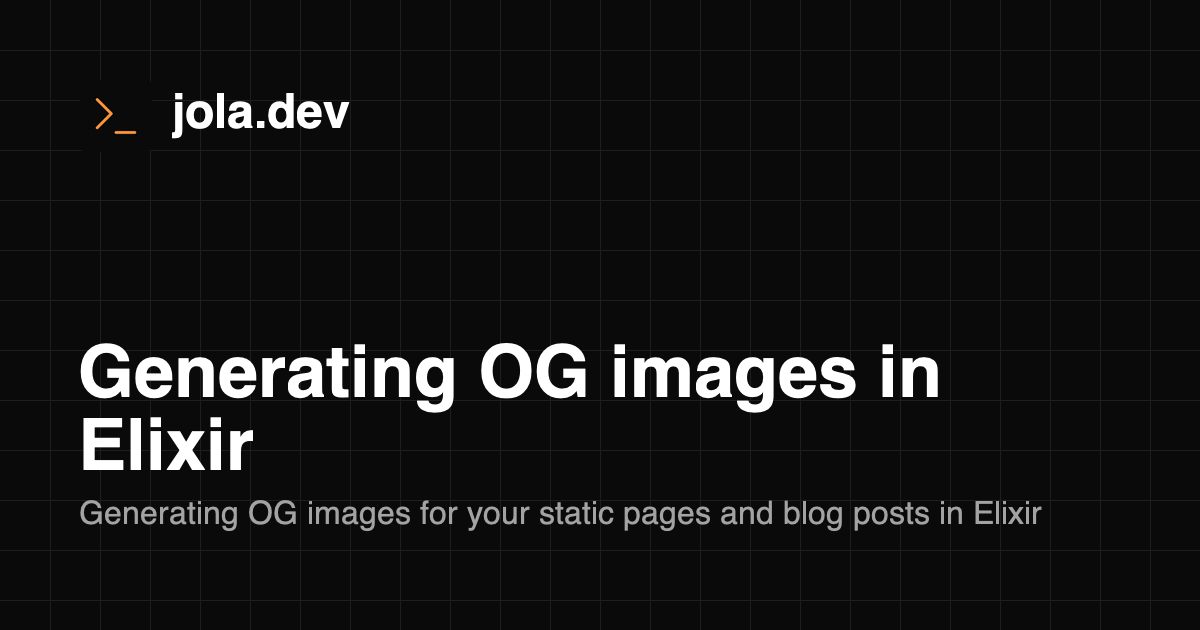
Having nice previews show up in social media and messaging apps when your links are shared is a lot of fun and it doesn’t necessarily take that much effort. This blog tries to separate things into clear layers, similar to how I implemented it myself, but you can probably get a minimal version working with half as many lines. Or you can try something even fancier by doing some macro magic to map your routes to images. The options are endless. Play around with it, try some different designs. Here’s the OG image for this blog post.
Hope this was helpful and that you’ll try it out! It ended up being a lot more straightforward than I expected to get this set up, although to be fair I then spent tons of time tinkering and tweaking the exact setup. If there’s interest for it I might try to set up a library in the style of NimblePublisher that covers basic use cases. Let me know!
Written by Johanna Larsson. Thoughts on this post? Find me on Bluesky at @jola.dev.
Related posts
Building for the Joy of Building
My path into programming and why I've been obsessed for 20 years.
Running local models on an M4 with 24GB memory
Experiments with getting usable outputs out of local models on a standard Macbook
How to hit your Claude weekly limit so you can go outside and touch grass
A satirical guide to maxing out your Claude weekly limit so you finally go outside and touch grass, featuring sub-agents, MCPs, and max effort.